Install the script
The SoloSearch widget is a single JavaScript file. No npm, no build step, no framework required — it works on any HTML page.
There are two ways to install it: one of our official platform modules — currently available for Magento, with WooCommerce and Shopify on the roadmap — handles the widget embed (and the feed) automatically, no manual steps needed. If there's no module for your platform yet, install the script manually as described below.
1. Copy the snippet
Open your search engine in the panel, go to the General tab and copy the snippet. It already includes your engine UUID and API URL pre-filled.
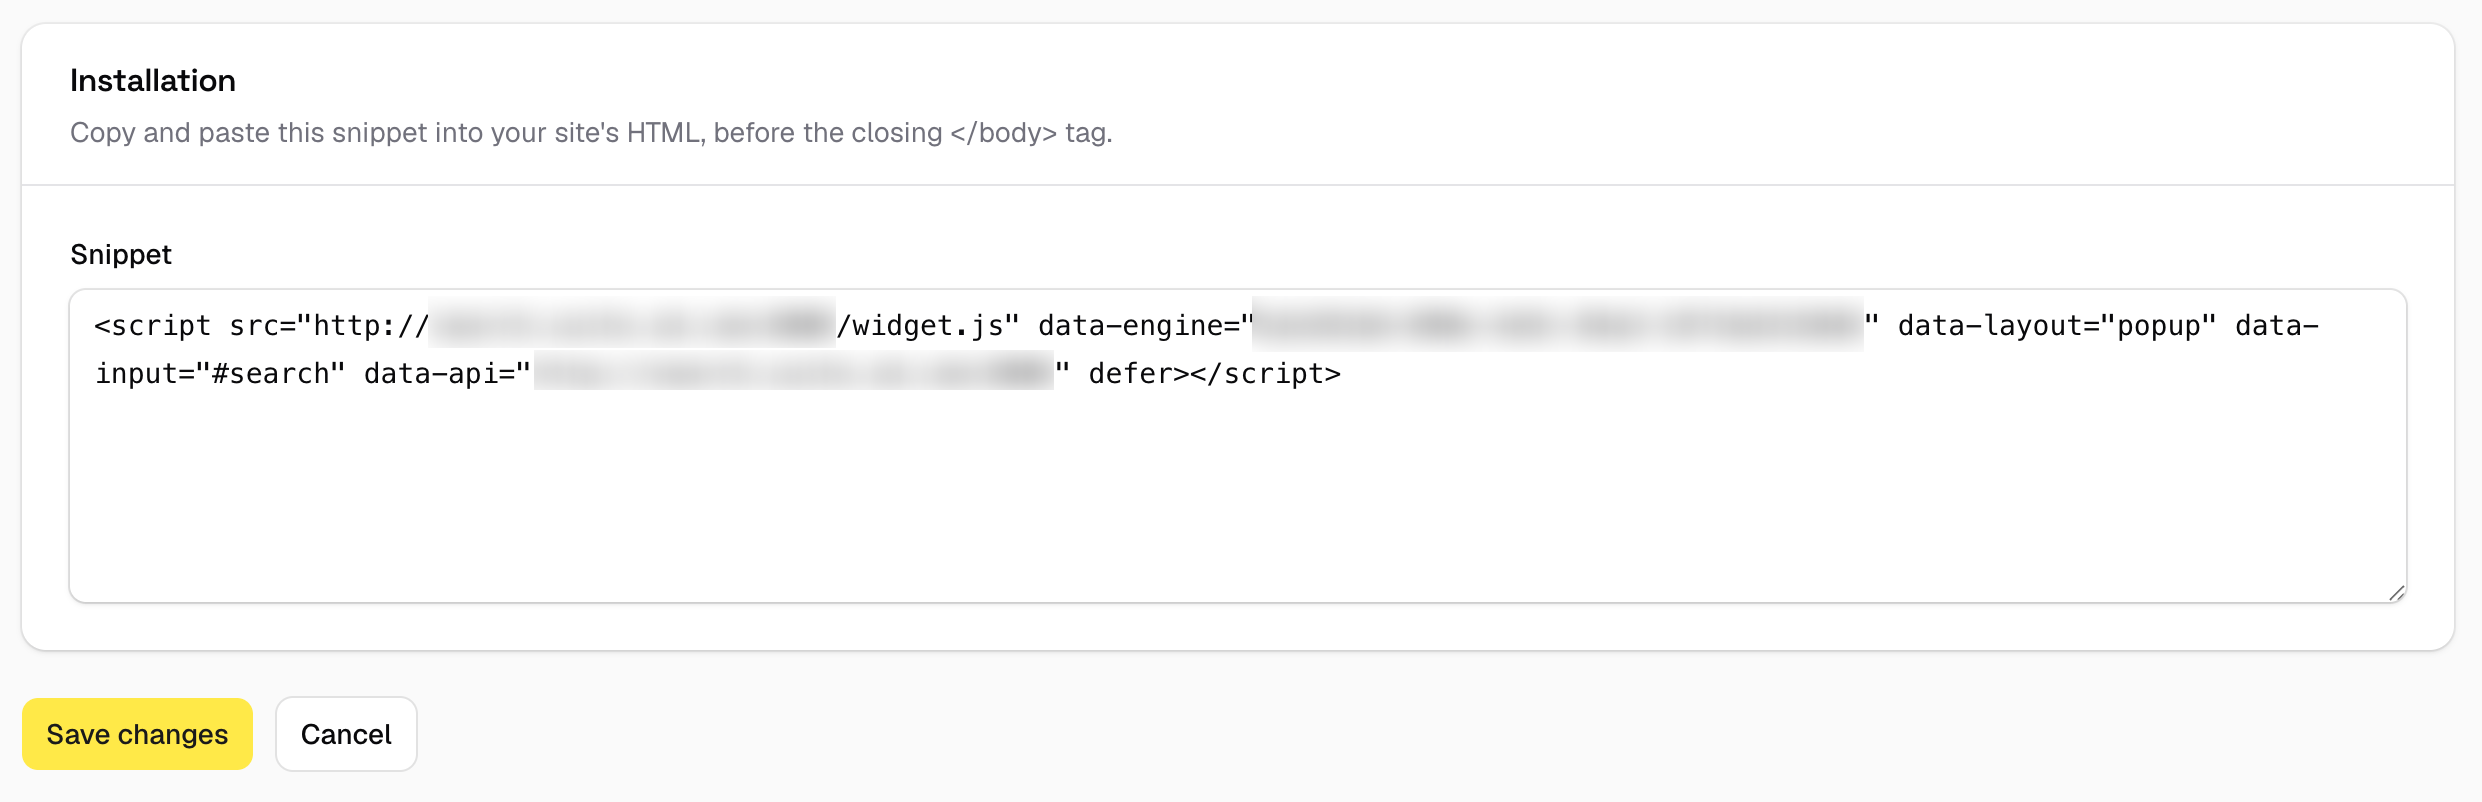
data-input before pasting. This attribute tells the widget which element on your page is the search box. It accepts any CSS selector — #search, .search-field, input[type=search]. Inspect your theme's HTML to find the right selector and replace the default value with it. If your shop has no search input at all, you can remove the attribute entirely and the widget will render its own field.
The snippet shown is the minimum required to get the widget running. Many additional parameters can be configured — layout, locale, result count, filters behaviour, and more — see Script attributes for the full reference.
2. Paste it into your shop
Paste the snippet inside <head> or just before </body>. The defer attribute means it will not block page rendering.
Magento 2
The simplest way is via the admin panel: go to Content → Design → Configuration, edit your store view, open the HTML Head section and paste the snippet in Scripts and Style Sheets.
Alternatively, add it via layout XML in your theme at app/design/frontend/[Vendor]/[theme]/Magento_Theme/layout/default_head_blocks.xml:
<page xmlns:xsi="http://www.w3.org/2001/XMLSchema-instance"
      xsi:noNamespaceSchemaLocation="urn:magento:framework:View/Layout/etc/page_configuration.xsd">
  <head>
    <script src="https://search.solosearch.app/widget.js"
            src_type="url"
            defer="defer"
            attributes="data-engine=your-engine-uuid data-api=https://search.solosearch.app data-input=#search"/>
  </head>
</page>
Shopify
Go to Online Store → Themes → Actions → Edit code → layout/theme.liquid and paste before </head>. Plain HTML script tags work without any changes inside Liquid templates.
WooCommerce / WordPress
Add the snippet to your theme's functions.php:
add_action('wp_head', function () { ?>
  <script
    src="https://search.solosearch.app/widget.js"
    data-engine="your-engine-uuid"
    data-api="https://search.solosearch.app"
    data-input="#search"
    defer
  ></script>
<?php });
Or paste it directly in Appearance → Theme Editor → header.php before </head>.
PrestaShop
Go to Design → Theme & Logo → Advanced customisation and add it to the header hook, or edit themes/[your-theme]/templates/_partials/head.tpl.
Custom HTML
Paste anywhere inside <head>. That's it.
3. Verify it's working
Type a few characters in your search box. Results should appear according to the layout configured for your engine.
If nothing appears, check the browser console for errors and verify:
- The
data-engineUUID matches the one shown in the panel. - The
data-inputselector matches an element that actually exists on the page. - Your shop's domain is listed in Allowed origins on the search engine settings.
localhost, add http://localhost or http://localhost:3000 to Allowed origins temporarily.